

What Is a Roof Deck and What Materials Are Used?
Before picking out furniture or light fixtures, it helps to understand what the term “roof deck” actually means in the construction world. When roofers speak about a roof deck, we are usually referring to the structural substrate—the continuous flat layer attached directly over the building’s structural rafters or trusses. This foundational sheathing acts as a critical load-distribution mediator, spreading weight across the framing while creating a smooth surface to accept weatherproofing layers and exterior roofing.
However, in residential architecture along the Wasatch Front, “roof deck” often double-dips in meaning, referring both to this underlying substrate and to an outdoor walking terrace constructed above it. Understanding how these two layers work together is key to a long-lasting project. Learn more about structural components in The Complete Guide to Roofing Materials.
Structural Sheathing vs Outdoor Decking Materials
The foundation beneath your feet relies on heavy-duty structural sheathing. For standard residential roofs, this substrate consists of 4×8-foot exterior-grade plywood sheets (typically a minimum of 15/32-inch thick) or Oriented Strand Board (OSB, typically 7/16-inch minimum). Plywood uses layered wood veneers glued in alternating grain directions for high flexural strength, while OSB compresses engineered wood strands under intense heat and pressure to deliver an economical, solid platform. Older homes throughout Salt Lake City and Bountiful often feature solid wood planks, which require careful inspection during retrofits to ensure they can carry modern structural loads without sagging.
When converting that flat structural surface into a livable terrace, you must choose outdoor decking finishes designed to withstand direct UV exposure and local climate extremes. Outdoor walking finishes fall into several primary material categories:
- Hardwood Planks: Dense, high-density hardwoods (such as Ipe, Cumaru, or Jatoba) offer remarkable durability and natural resistance to rot, insect damage, and fire. They stay surprisingly cool under foot during scorching hot July afternoons compared to synthetic alternatives.
- Capped Composite Decking: Engineered composite boards surrounded by a protective polymer cap resist moisture intrusion, fading, and staining. Uncapped composite should be avoided on rooftops because trapped water can lead to internal swelling.
- Interlocking Pavers & Rubber Tiles: Architectural pavers or high-density rubber tiles fit together over pedestals or underlying drainage mats, serving as both ballast and an easily removable walking surface.
- Cementitious Wood-Fiber & Concrete Panels: Used heavily in commercial assemblies or high-durability residential structures, cementitious panels offer exceptional acoustical dampening and fire ratings.
Side Lap Fastening in Metal Roof Deck Installation
For commercial structures or low-slope modern residential designs, structural steel decking provides an incredible strength-to-weight ratio. Cold-rolled from 22-gauge down to 16-gauge steel sheets, metal decking spans long distances between structural purlins. During a structural roof deck installation, properly securing the overlapping longitudinal edges—known as the side laps—is vital for building diaphragm integrity and lateral wind uplift resistance.
According to established INSTALLATION PROCEDURES, contractors utilize three industry-approved methods to lock metal deck side laps together depending on panel thickness and composite profile:
- Self-Tapping Fasteners: Screwed through the overlapping male and female ribs at precise intervals, providing a quick mechanical lock.
- 5/8-Inch Puddle Welds: Fusing adjacent steel panels to one another and the structural steel below using controlled arc welds, essential for high diaphragm shear loads.
- Crimping and Button-Punching: Utilizing specialized mechanical crimping tools to bend interlocking 2-inch or 3-inch composite side lap ribs together, forming a continuous structural bond without heat damage.
Essential Step-by-Step Guide to Roof Deck Installation
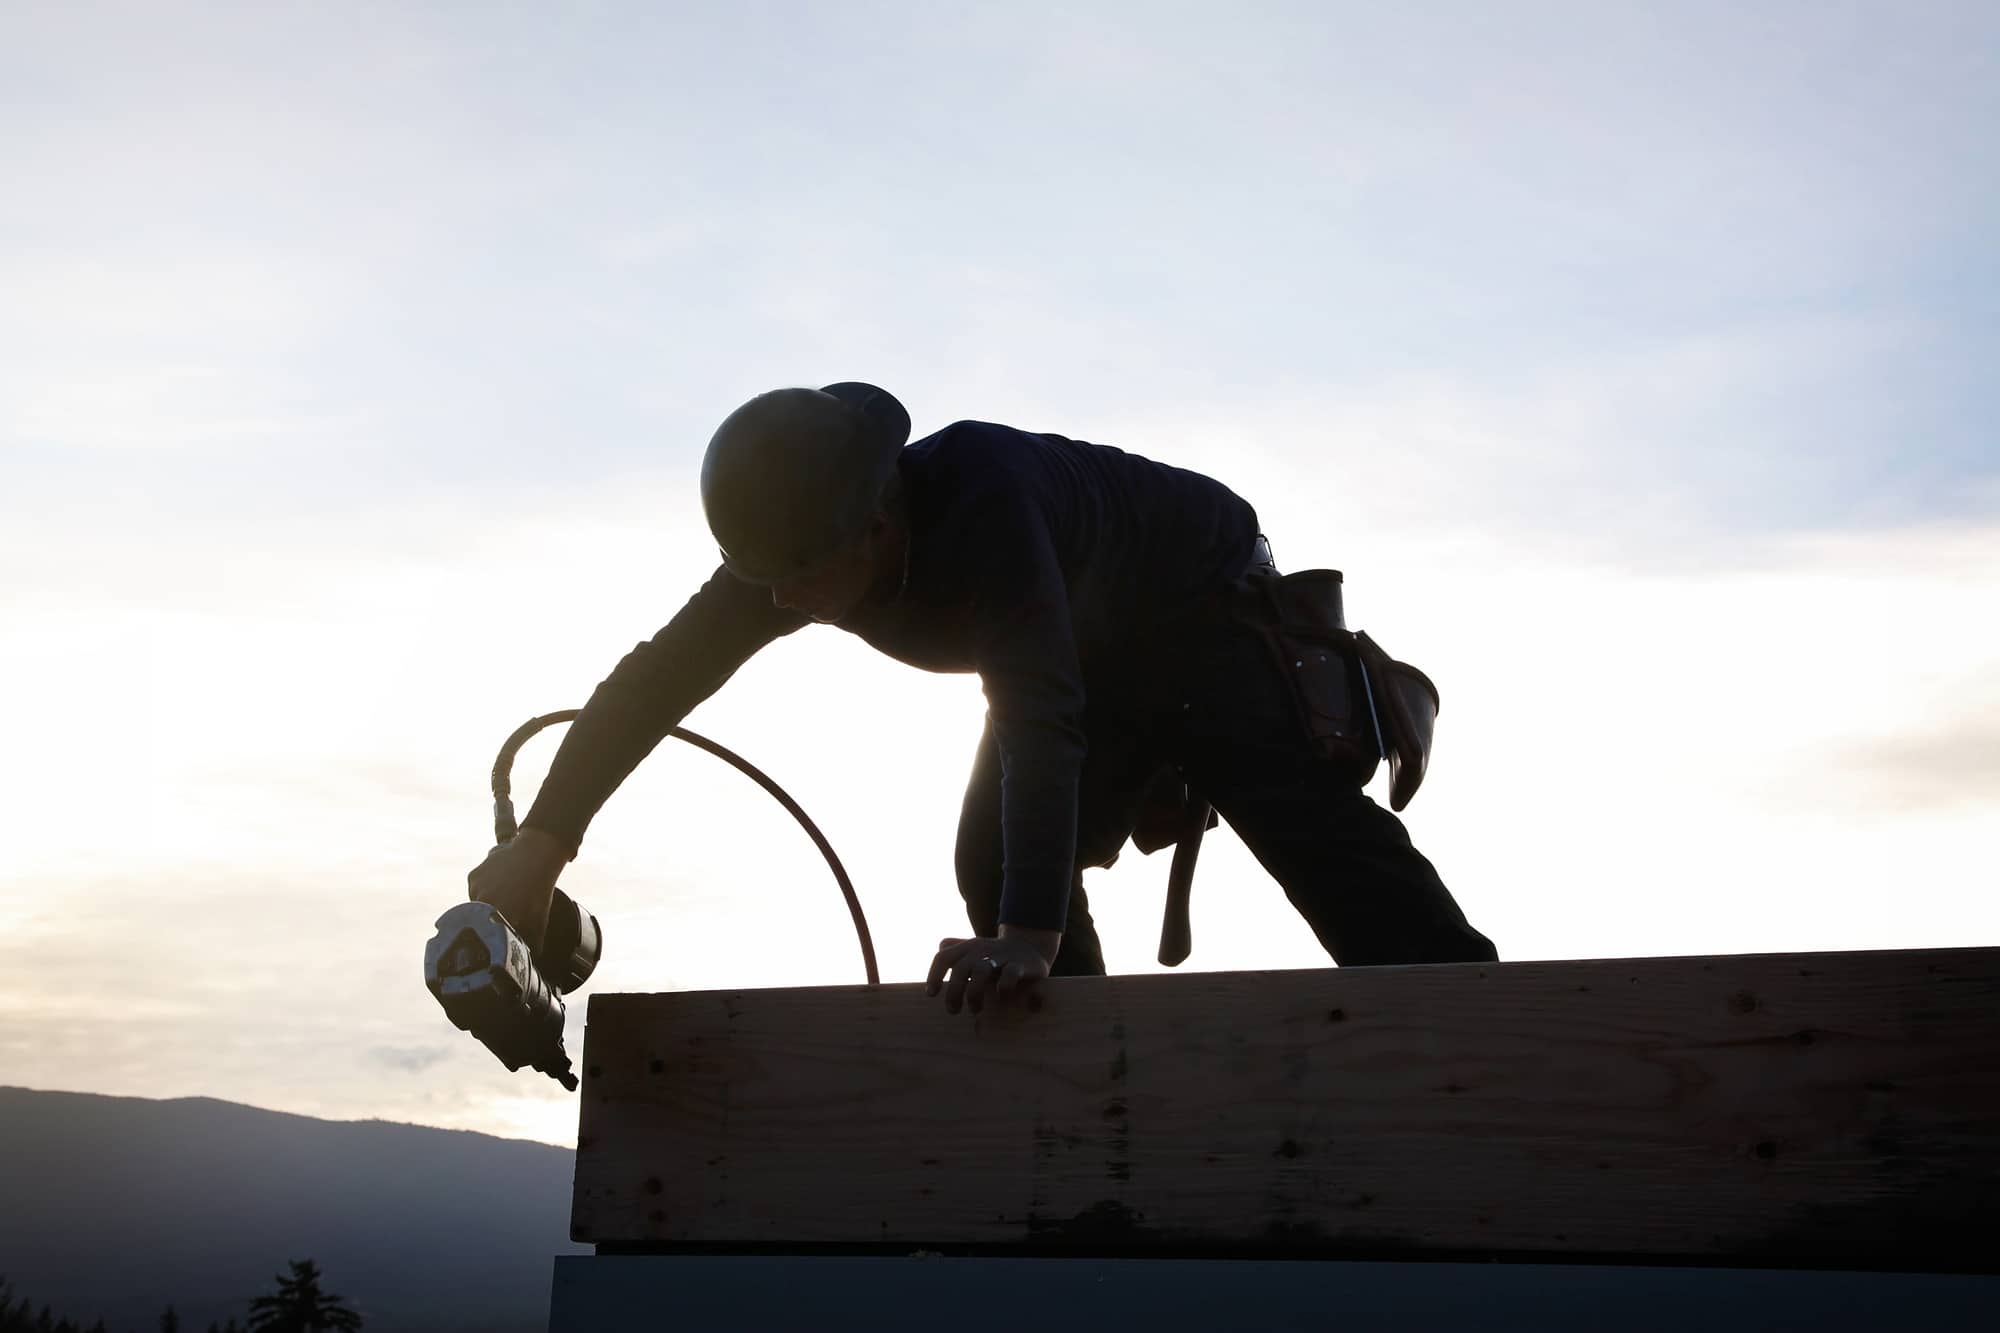
Building a rooftop outdoor living space requires a systematic workflow. Skipping a single step in the process can lead to structural sagging or interior leaks above living rooms. For a detailed look at standard project timelines, check out Understanding the Roof Installation Process What to Expect.
Here is how a proper installation comes together from start to finish:
Assessing Roof Load Capacity and Permits
Never assume a flat roof can automatically hold a deck. Standard residential roof framing in Utah is designed to bear a dead load of around 20 to 30 pounds per square foot (primarily handling snow, wind, and basic roofing materials). However, turning that roof into an active walking terrace pushes required load capacities to a minimum of 55 pounds per square foot (combining dead load plus live load from furniture, large gatherings, and snow accumulation).
Before buying materials, hire a licensed structural engineer. For an assessment fee typically between $300 and $700, an engineer will calculate joist spans, check structural wall points, and stamp project blueprints. You can review a step-by-step breakdown of these planning requirements in this guide to Build Rooftop Deck in 6 Steps (2026) | Costs, Permits & Materials.
In almost all Wasatch Front municipalities—including South Jordan, Draper, Park City, and Ogden—building permits are mandatory. Permit fees generally cost between $500 and $2,000 depending on project scope. Permit officers verify compliance with the International Residential Code (IRC), such as the requirement that any platform higher than 30 inches above surrounding grade must include code-compliant guardrails at least 36 to 42 inches high. Be sure to submit plans to your local HOA as well to avoid compliance headaches later.
Installing Waterproofing Membranes, Framing, and Sleepers
Waterproofing is the heart of any successful roof deck installation. Once the structural sheathing layer is verified or repaired, a seamless waterproof membrane must be applied. Single-ply flexible membranes such as EPDM (ethylene propylene diene monomer synthetic rubber), TPO (thermoplastic polyolefin), or PVC (polyvinyl chloride) are industry standard. Properly installed EPDM membranes routinely last between 25 and 50 years, providing unmatched moisture protection.
To protect this critical barrier, the deck frame must “float” above the roof surface using non-penetrating construction techniques:
- Protective Rubber Buffers: Thick neoprene or recycled rubber pads sit directly on top of the waterproof membrane to protect it against friction, abrasion, and pressure points.
- Floating Sleeper Framing: Pressure-treated joists or non-combustible aluminum sleeper tracks are laid horizontally over the rubber pads on 16-inch centers. Crucially, these joists floating on pads are never screwed through the membrane.
- Tapered Sleepers for Drainage Slope: Because flat roofs need pitch to shed water, sleepers are often custom-tapered so the underlying frame follows the roof slope while presenting a level top surface for walking.
When working with low-slope asphaltic membrane base systems, refer to official guidelines like the Owens Corning manual to ensure self-adhered cap sheets and edge flashings are fully sealed before sleeper grid assembly begins.
Surface Finishes: Installing Planks, Tiles, and Drainage Systems
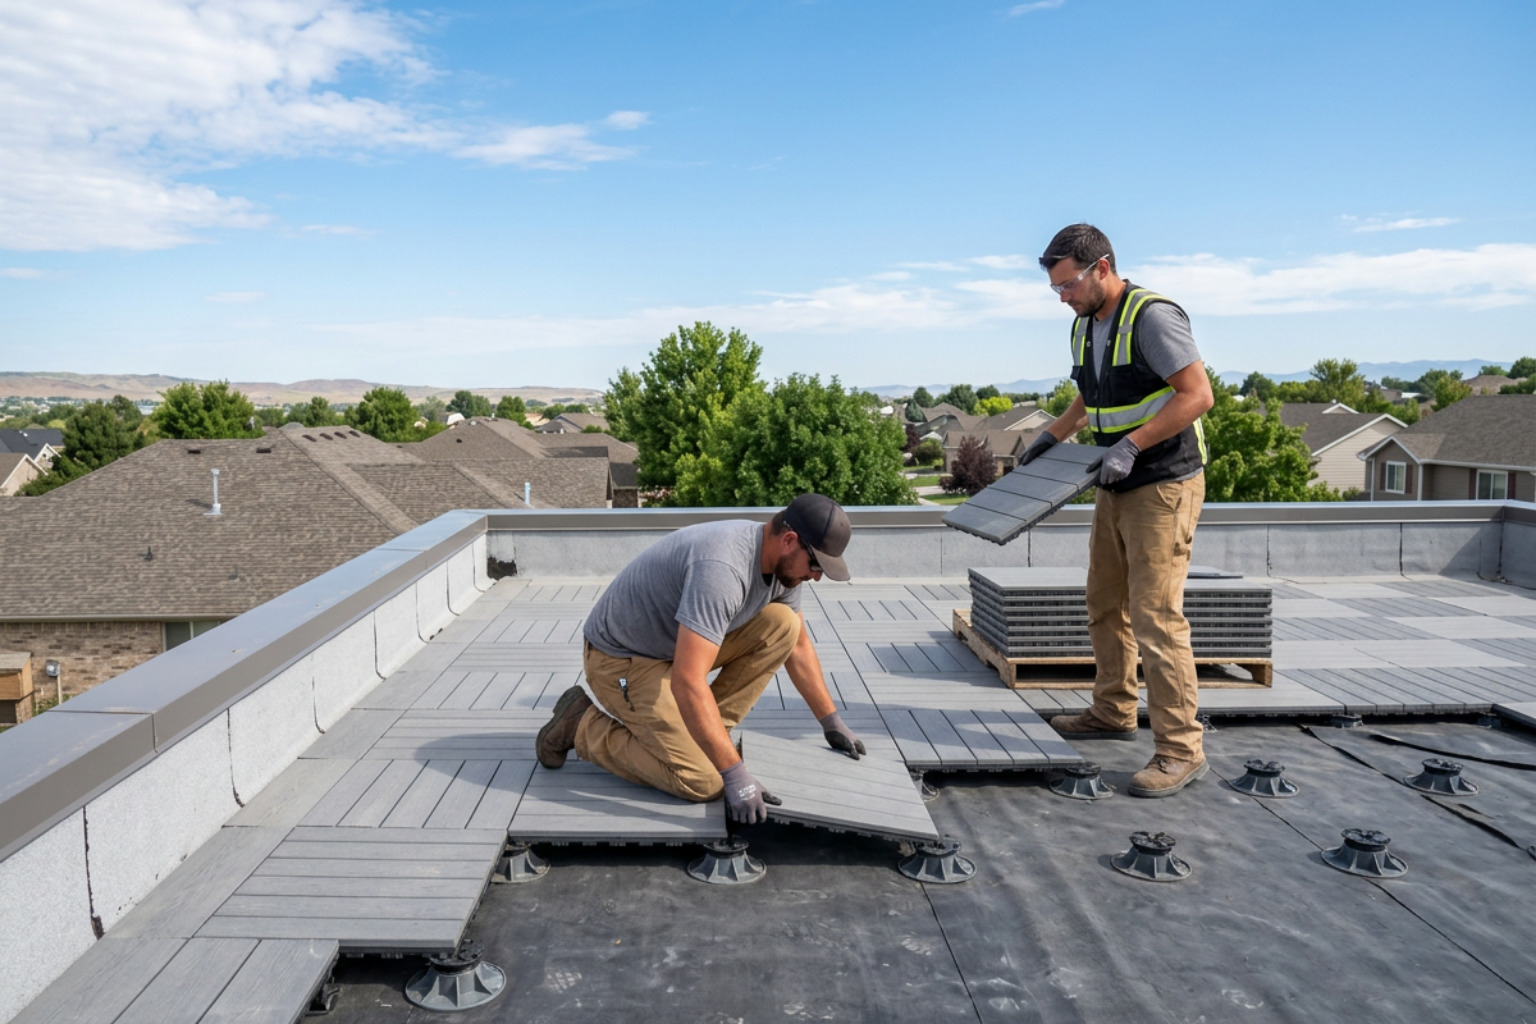
With the floating sleeper subframe secured in place, you can move on to placing your choice of surface finishes. The way decking surface boards or tiles are laid dramatically affects both the visual appeal and long-term performance of the roof.
| Feature / Consideration | Capped Composite | High-Density Hardwoods (Ipe) | Interlocking Rubber / Paver Tiles |
|---|---|---|---|
| Average Material Cost | $10 – $20 / sq. ft. | $15 – $30 / sq. ft. | $8 – $18 / sq. ft. |
| Maintenance Level | Low (Occasional wash) | Medium (Periodic oiling optional) | Low (Sweep clean) |
| Under-Deck Ventilation | Moderate | Excellent (with 4″ boards) | High (Integrated drainage channels) |
| Surface Temperature | Warmer in direct sun | Cool underfoot | Moderate to Warm |
| Lifespan | 25 – 30+ years | 40+ years | 20 – 30 years |
Deck Tile and Plank Placement in Roof Deck Installation
When installing deck boards over low-clearance roof structures, board width directly impacts airflow and ventilation. Choosing narrower 4-inch nominal boards (5/4 x 4) rather than standard 6-inch wide boards increases the total gap ratio across the deck area, delivering roughly a 40% improvement in trapped moisture ventilation! This increased airflow prevents wood cupping and rot beneath the boards.
Fastening boards with hidden clip systems provides a smooth walking surface while maintaining proper 3/16-inch thermal expansion gaps between planks.
If you prefer architectural tile or stone finishes, specialized waterproof systems must be installed first. Guidelines outlined in Section 09305 – Tile Underlayment and Waterproofing specify laying a 60-mil PVC sheet membrane featuring an integrated top-side non-woven fabric backing over structural C-C exterior plywood subfloors. Exterior porcelain or slate tiles are then set directly onto this membrane using a high-grade polymer-modified thinset mortar meeting ANSI 118.4 standards.
For modular rubber paver tiles:
- Layout starts from center chalk lines, working outward in a grid pattern.
- Tiles are installed under slight compression into a 24-inch grid pattern to keep seams tight.
- Keystone tiles located every 6 to 7 rows are glued directly to perimeter containment zones to hold the compression grid firmly in place over time.
Ensuring Proper Rooftop Drainage and Air Ventilation
Water management makes or breaks a rooftop outdoor space. Standing water will break down adhesives, age decking prematurely, and freeze into destructive ice dams during Utah winters.
- Maintain Minimum Pitch: Structural sheathing and waterproof membranes must maintain a positive slope of at least 1/4-inch drop per linear foot heading toward roof drains, scuppers, or perimeter gutters.
- Supplemental Drainage Holes: When using rubber paver tiles or pedestal systems, make sure drainage channels beneath the pavers remain clear of construction debris so subsurface water flows freely toward outlets.
- Low-Clearance Air Circulation: Rooftop microclimates trap heat and moisture in narrow joist cavities. Leaving 1/2-inch gaps at perimeter fascia walls creates cross-ventilation, letting thermal energy escape while drying out the underside of deck planks.
Budgeting and Cost Considerations for Roof Deck Projects

Planning a realistic budget prevents mid-project surprises. Creating a functional, fully waterproofed 200-square-foot rooftop terrace generally costs between $8,800 and $29,700 depending on site accessibility, structural framing needs, and material finishes.
To help unpack these figures, review our helpful guides on Roofing on a Budget Understanding Installation Costs Without the Headaches and The Ultimate Guide to Roof Installation in Salt Lake City.
Here is a typical cost breakdown for a 200-square-foot rooftop deck project:
- Structural Engineering Review & Stamped Plans: $300 to $700
- Municipal Building Permits & Zoning Fees: $500 to $2,000
- High-Grade Waterproofing Membrane (EPDM/TPO/PVC): $2,000 to $6,000 ($4 to $12 per sq. ft. installed)
- Floating Frame, Rubber Pads & Sleeper Joists: $1,500 to $4,000
- Decking Materials (Planks, Composite, or Tiles): $2,000 to $8,000
- Code-Compliant Guardrails (Aluminum, Glass, or Cable): $1,500 to $5,000
- Roof Access Point (Hatch Door or Exterior Stairway): $1,000 to $4,000
Frequently Asked Questions About Roof Decking
Can any flat roof support a deck without structural modifications?
No. Standard residential flat or low-slope roofs are engineered primarily to bear lightweight weatherproofing materials and environmental loads like light snow (around 20 to 30 lbs/sq ft). Rooftop decks require a structure rated for a minimum live load of 55 lbs/sq ft. Many existing homes require structural upgrades—such as sistering existing ceiling joists, adding steel beams, or inserting secondary load-bearing posts—stamped by a licensed structural engineer before deck construction can begin.
How do you build a roof deck without causing roof leaks?
The absolute rule of leak-free rooftop construction is zero membrane penetrations. Instead of screwing framing posts down into the roof surface, contractors install a fully seamless, flood-tested waterproof membrane (like EPDM or PVC) across the sheathing. A floating deck frame using custom sleepers or adjustable pedestals sits loosely on top of thick protective rubber pads. This allows water to run freely beneath the frame toward gutters without a single screw hole penetrating the roof barrier.
What is the best decking material for low-clearance roof decks?
Capped composite decking and dense hardwoods (such as Ipe or Cumaru) in narrow 4-inch board widths are top choices for low-clearance roof decks. Narrower boards provide approximately 40% better air ventilation than wider 6-inch boards, allowing trapped moisture underneath to evaporate quickly. High-density hardwoods stay cool under direct sunlight and naturally resist rot, while capped composites offer minimal maintenance without absorbing water.
Conclusion
A successful roof deck installation transforms underutilized flat roof space into a stunning outdoor terrace while keeping your home protected from the weather. By starting with a structural load evaluation, installing a seamless waterproof membrane, and utilizing a floating sleeper subframe, you protect your property against structural stress and costly water leaks.
Whether you need a structural roof sheathing replacement or guidance on preparing a flat roof system for outdoor living along the Wasatch Front, our experienced team at Heaton Bros. Roofing is ready to help. Explore our full range of professional services by visiting our main page for Roofing Services in Salt Lake City. Reach out today to schedule an expert roof assessment and make sure your home stays safe, secure, and beautiful for decades to come!