
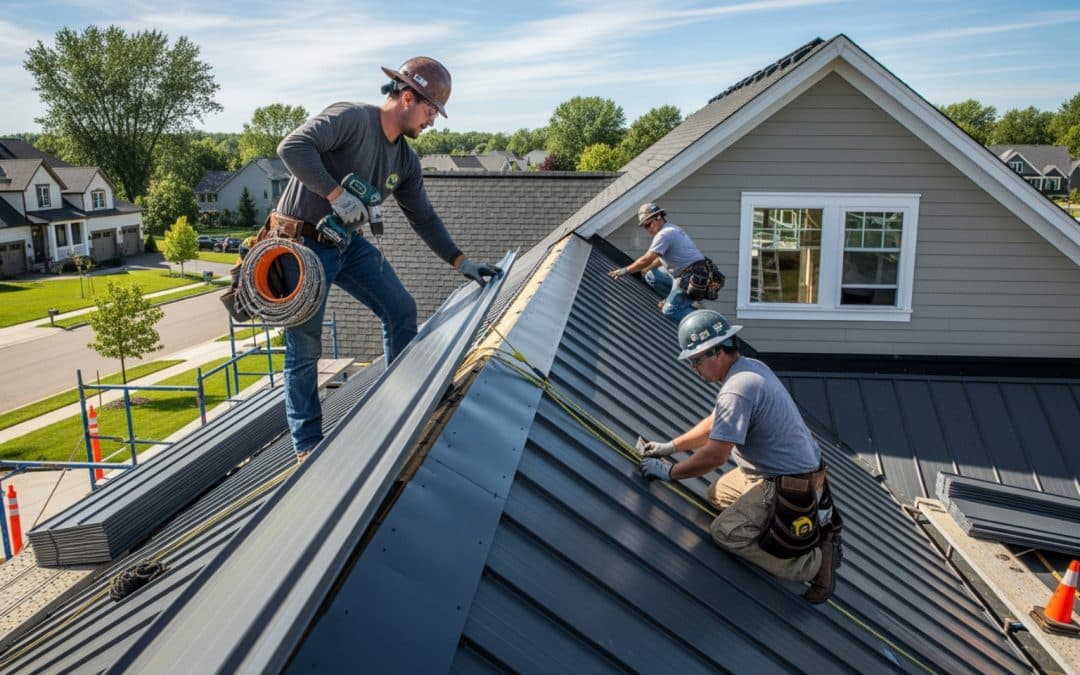
Why Metal Roofing is Changing Utah Homes
Residential metal roof installation is a smart investment for Utah homeowners seeking durability, energy efficiency, and long-term value. Whether you’re building new or replacing an aging roof, understanding the installation process helps you make informed decisions and ensures a quality result that protects your home for decades.
Key Benefits of Metal Roof Installation:
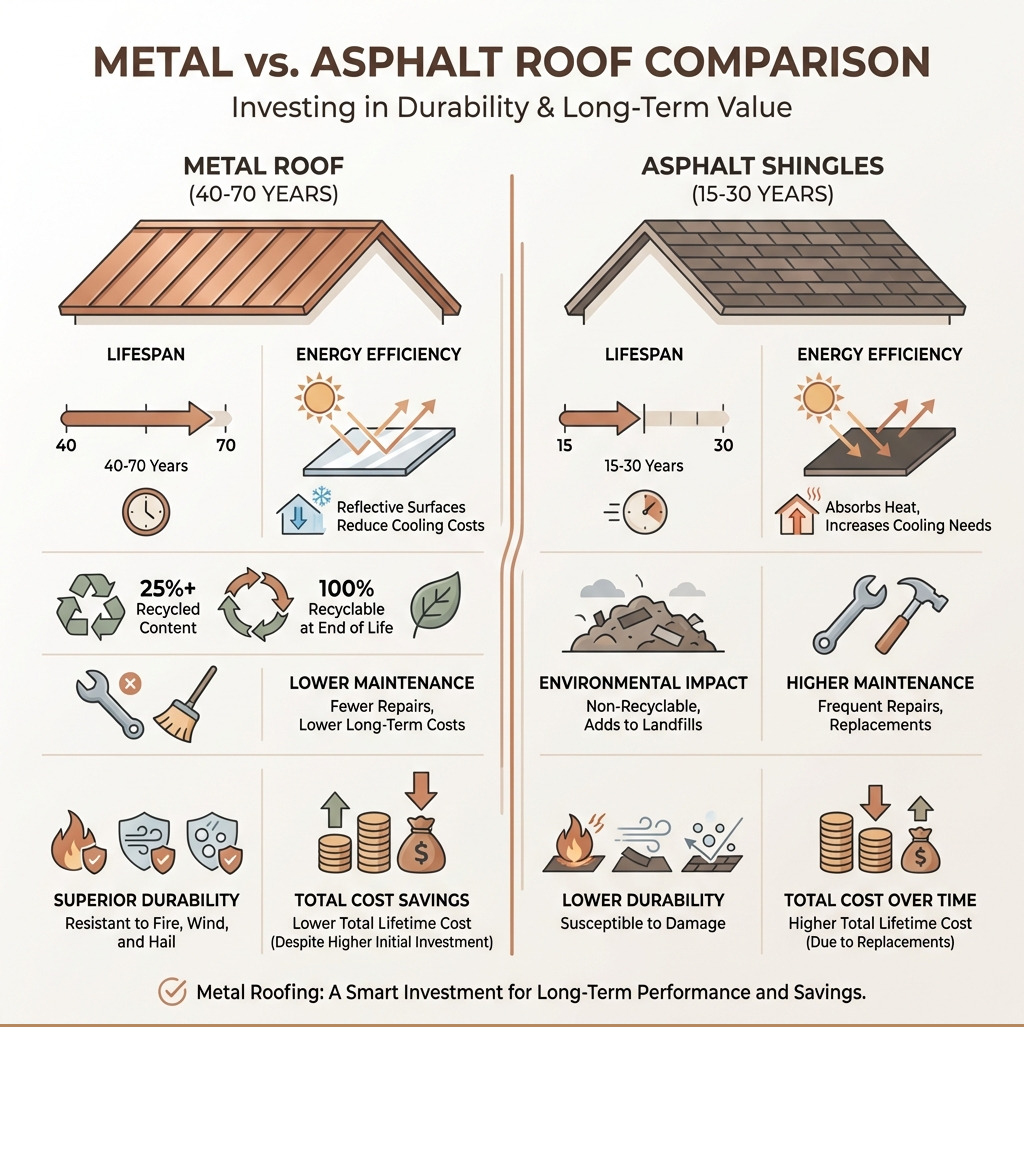
- Longevity – Metal roofs last 40-70 years, compared to 15-30 years for asphalt shingles
- Energy Efficiency – Reflective surfaces reduce cooling costs by deflecting the sun’s heat
- Durability – Superior resistance to fire, wind, hail, and harsh Utah weather
- Low Maintenance – Fewer repairs and replacements over the roof’s lifetime
- Environmental Impact – Made from 25%+ recycled content and 100% recyclable at end of life
- Cost-Effective – Lower total cost of ownership despite higher upfront investment
When building a new home, every decision has a long-term impact, and choosing the right roof is one of the most important. Metal roofing has quickly become popular for both new construction and replacement projects because it offers the perfect blend of aesthetics and function.
The installation process for a metal roof differs significantly from traditional shingle installation. It requires specialized knowledge, precise measurements, and proper handling of components like underlayment, drip edges, ridge caps, and flashing. While some homeowners consider DIY installation, professional installation is crucial to ensure proper fit, prevent leaks, and maintain warranty coverage.
New construction offers unique advantages for metal roof installation – you start with a clean slate, can tailor the design from the ground up, and avoid the challenges of working around existing structures or uncovering hidden damage. However, retrofitting a metal roof onto an existing home is also viable when done correctly, though it requires careful structural assessment and proper preparation.
Pre-Installation: Planning, Safety, and Materials
Safety and planning are the foundation of a watertight, long-lasting metal roof. We work throughout Salt Lake City, the Wasatch Front, and communities like Park City, Ogden, Provo, Bountiful, Lehi, and Herriman—where snow, wind, and sun are all factors—so we plan for real Utah weather, not just the sunny day of install.
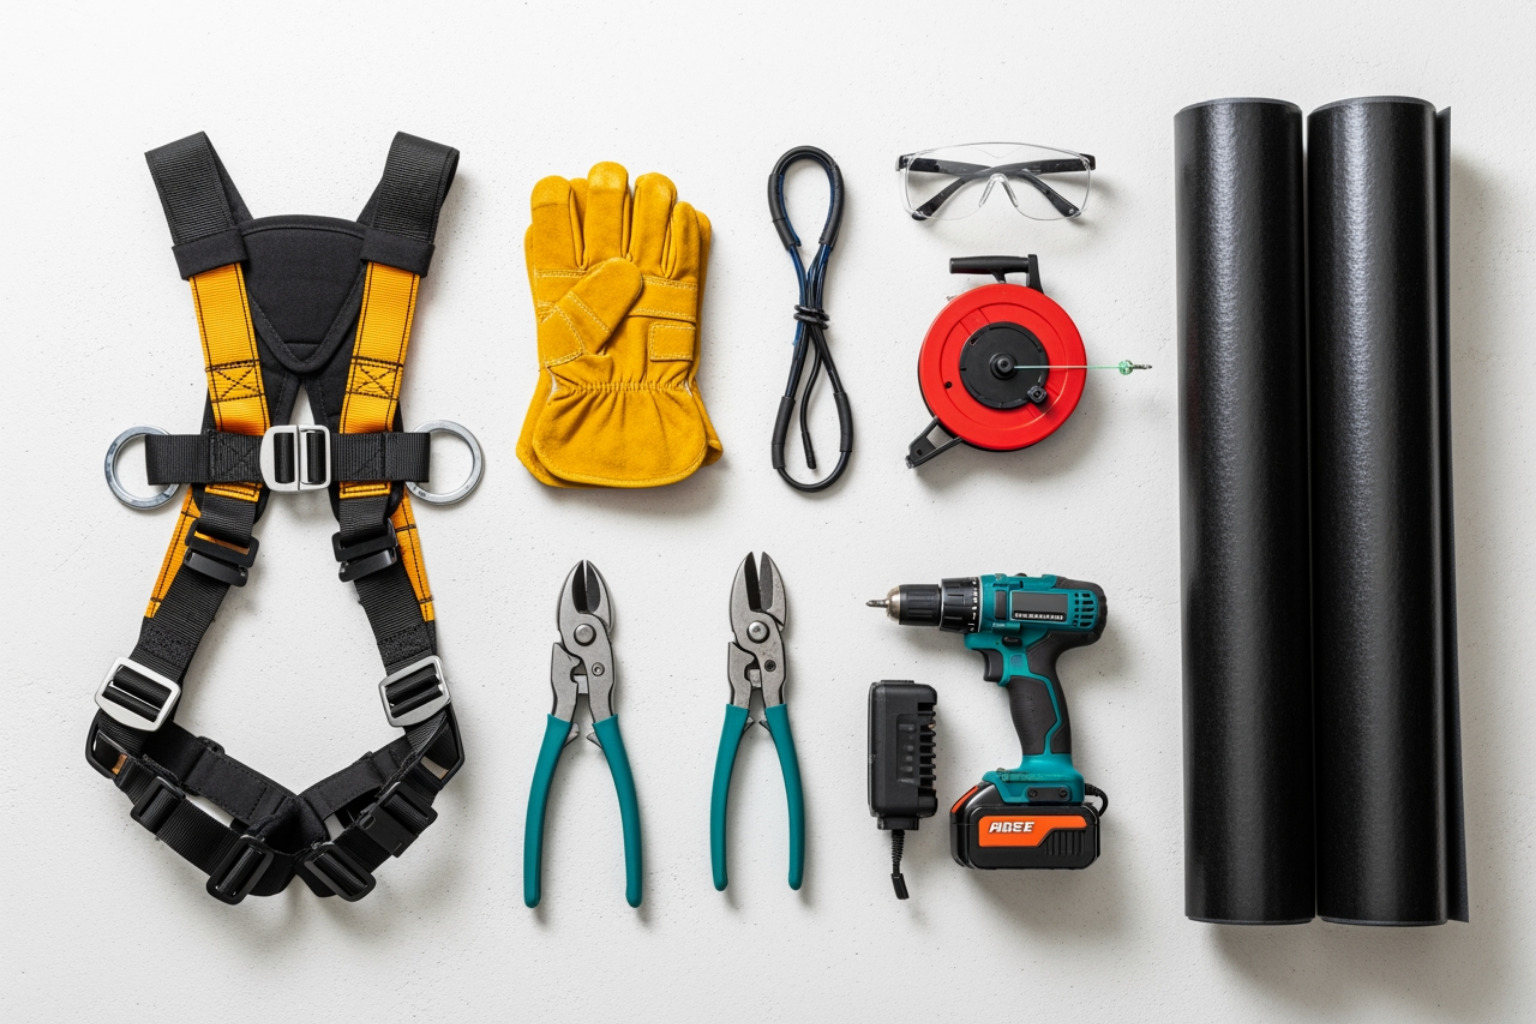
- Safety first
- Use a full-body harness, non-slip boots, gloves, eye protection, and secure ladders.
- Avoid working in rain or high winds. Metal is slick when wet.
- Tool checklist
- Tape measure, chalk line, snips, shears/nibbler, drill/driver with magnetic bits, hammer, sealant gun, rivet tool, straightedge, and a square.
- Material selection
- Choose profile (standing seam, corrugated/exposed fastener, or metal shingles/tiles), alloy (steel, aluminum, copper, zinc), gauge, and factory finish. Many Utah homes benefit from light, reflective “cool roof” colors to help with summer heat.
- Why pros often save money
- Precision, speed, fewer mistakes, and manufacturer-backed warranties lower your lifetime cost. See our take on Why Professional Roof Installation Saves You Money in the Long Run.
Here’s a quick comparison of common residential profiles:
| Metal Roof Style | Aesthetic | Typical Cost | Best For | Maintenance |
|---|---|---|---|---|
| Standing Seam (concealed fastener) | Clean, modern lines | $$$ | Long-term performance, snow country, solar-ready roofs | Minimal; few exposed penetrations |
| Corrugated/Exposed Fastener | Traditional, agricultural | $ | Sheds, garages, budget-focused installs | Periodic fastener/gasket checks |
| Metal Shingles/Tiles | Classic slate/shake/tile look | $$-$$$ | HOA-friendly, traditional curb appeal | Minimal; panelized modular repairs |
Preparing for Your Residential Metal Roof Installation
Preparation sets the stage for a high-quality, leak-free job.
- Roof deck inspection and sheathing
- Verify the deck is flat, clean, and structurally sound. Replace any rotten or water-damaged sections before install. For new builds, we strongly recommend at least 5/8 in. sheathing for better screw hold and flatter panel appearance.
- Removing old roofing
- For retrofits, we often perform a full Roof Tear Off to expose and fix hidden issues. In some Utah jurisdictions, code may allow a metal recover over a single layer of shingles if the deck is sound, but consult your local building department. Keep in mind: old shingles can “telegraph” through some panel types, affecting appearance.
- Measuring and ordering
- Measure each roof plane, add 10% for waste and cutting, and account for all flashing, trim, closures, fasteners, and sealants. Many pros pre-drill panels for uniform screw rows and faster installs.
- Permits and local codes
- Plan to pull permits where required and meet ice-barrier rules in snow-prone cities along the Wasatch Front. Confirm minimum slope for your panel profile (many residential systems prefer 3:12 or steeper; some structural profiles can go down to 1:12 with special detailing).
Understanding Key Metal Roofing Components
The best roofs are systems, not just panels. Here’s what belongs in your system:
- Metal roof materials
- Steel (common, strong), aluminum (great for corrosion resistance), copper and zinc (premium, beautiful patinas). Explore more on Metal Roof Materials.
- Underlayment
- Synthetic underlayments are the modern standard for durability and walkability. In Utah, we frequently add ice and water protection at eaves, valleys, and penetrations. Industry experts emphasize a moisture barrier as essential—see installation tips from Sherwin Williams via METALCON’s article: Metal Roof Installation Tips.
- Drip edges
- Metal edging that guides water into the gutters and protects the roof edge and fascia.
- Flashing
- Pre-bent or site-formed metal that seals high-risk areas: valleys, sidewalls, endwalls, chimneys, and skylights. Correct flashing is the difference between “dry” and “why is the ceiling bubbling?”
- Ridge caps
- Non-vented or vented pieces that finish the peak and allow attic exhaust. Vented ridges help reduce ice dams and regulate attic temperatures.
- Vents and boots
- Rubber or flexible metal flashings that seal around pipes and other penetrations.
- Fasteners and clips
- Use corrosion-resistant screws with rubber washers, driven straight and snug—never crushed. For standing seam, hidden clips allow for thermal movement.
- Sealants and butyl tapes
- Critical at overlaps and transitions to manage wind-driven rain and snowmelt.
The Step-by-Step Guide to Residential Metal Roof Installation
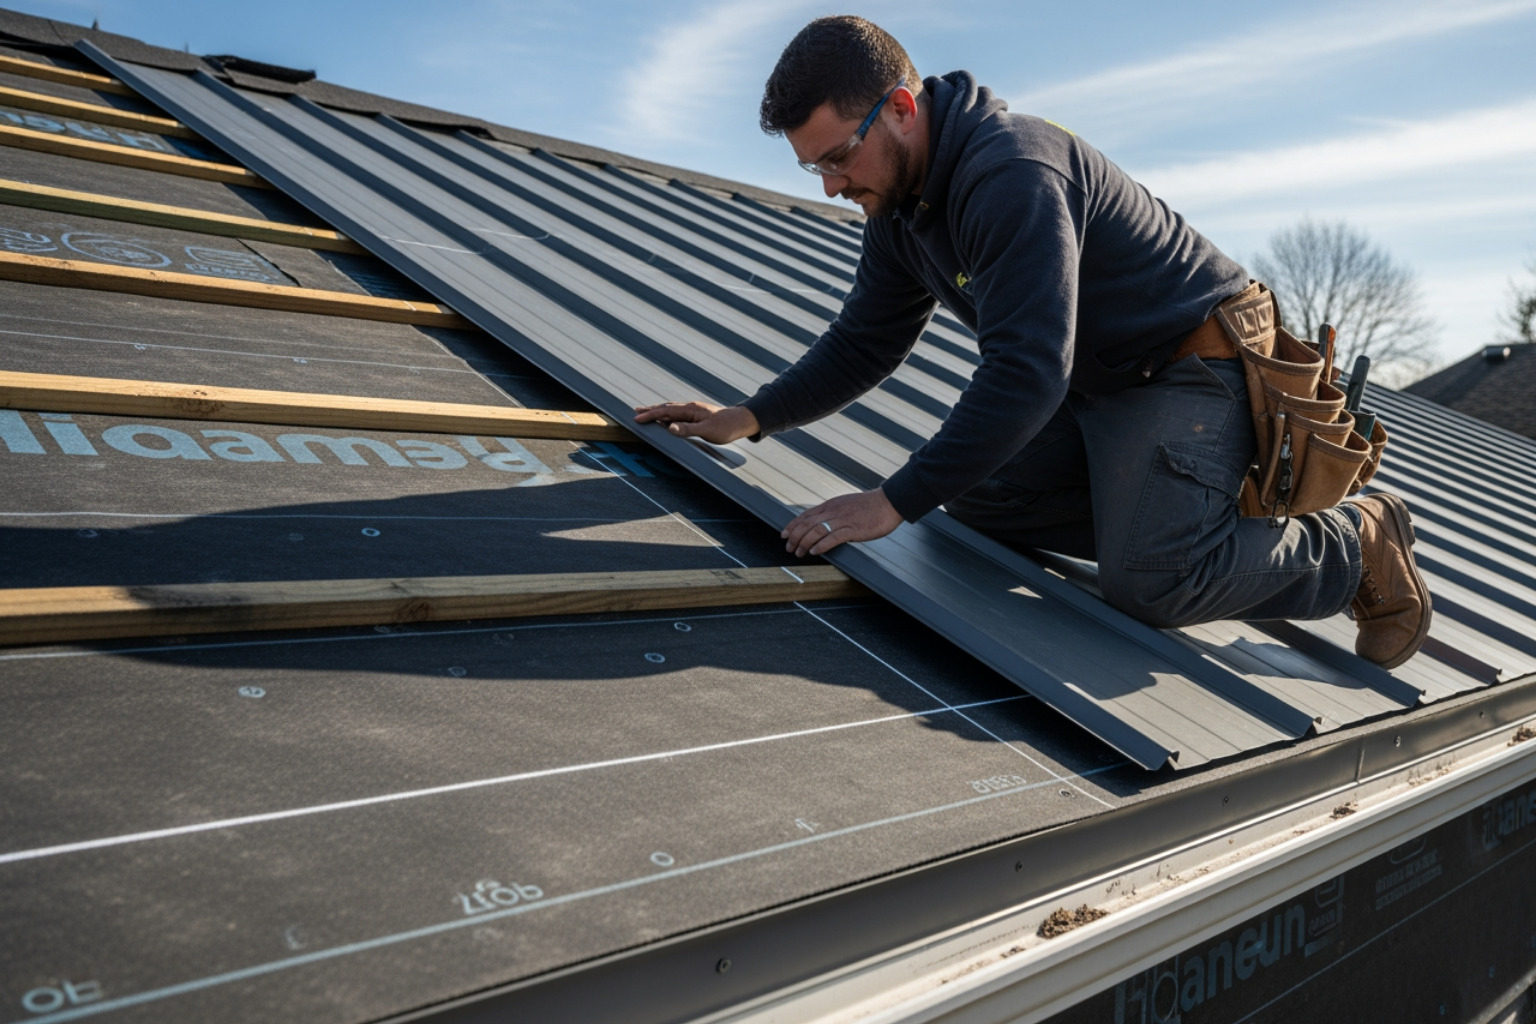
Even if you plan to hire us (smart move), knowing the sequence helps you spot quality workmanship. For Utah-specific context on timelines, inspections, and weather windows, see The Ultimate Guide to Roof Installation in Salt Lake City.
Step 1: Install Underlayment and Drip Edge
- Prepare the roof deck
- Sweep the deck clean. Fix low spots or proud nail heads that could show through panels.
- Roll out underlayment
- Start at the eaves and work up-slope. Overlap rows by at least 4 inches and follow manufacturer fastener spacing (cap nails or staples typically every 12-18 inches). Add ice barrier at eaves/valleys where required by local code or as best practice in snow zones.
- Install drip edge
- At eaves: Install drip edge first, then run underlayment over its top so water flows into gutters.
- At rakes: Install drip edge over the underlayment for wind protection up the gable ends.
Pro tip: Keep rows straight with chalk lines and avoid wrinkles or fishmouths in the underlayment—flat underlayment equals flatter panels.
Step 2: Install Flashing and Panels
- Flash critical areas first
- Valleys: Lay wide valley flashing, bedded in butyl tape, and secure carefully. Keep panel seams away from valley centerlines when possible.
- Sidewalls and endwalls: Tuck flashing behind siding or into kerf cuts in masonry for a watertight seal.
- Chimneys and skylights: Use step flashing and counterflashing details; seal with manufacturer-approved sealants.
- Align the first panel square
- Snap a chalk line parallel to the eave. Set the first panel with about a 1-inch overhang. If the first panel is off, everything else will be off—take your time here.
- Secure panels with the right fasteners
- Place screws into the flat of the panel (not the high rib) to compress the washer evenly. Space screws according to manufacturer instructions, commonly every 18-24 inches along supports. Avoid overdriving; the washer should slightly “mushroom,” not deform.
- Overlap and seal correctly
- For exposed fastener panels, overlap by at least one rib; apply butyl tape or sealant at side and end laps per the panel manufacturer. For standing seam, engage locks or use clips as specified.
- Cut around obstacles cleanly
- Use snips or a shear/nibbler to avoid burning the paint finish. Abrasive blades can void warranties and damage coatings. Install pipe boots and flashings snug and sealed.
Reference standards: See the Metal Construction Association’s best-practice guidance in MCA’s Metal Roof Installation Manual.
Step 3: Finishing with Ridge Caps and Trim
- Install vented ridge caps (where specified)
- Use closure strips to block wind-driven snow while allowing airflow. Fasten ridge caps every 12-16 inches into framing, sealing overlaps per the manufacturer.
- Button up gables and edges
- Install gable/rake trim with a continuous bead of butyl tape under laps, then fasten consistently. Dress corners cleanly for a pro finish.
- Final inspection and cleanup
- Verify all fasteners are set correctly, seams are sealed, and flashings are tight. Remove all metal shavings to prevent rust spots. Clean gutters and ground-level debris.
New Construction vs. Retrofit Installation
We install metal roofing on both new builds and existing homes across the Wasatch Front. Each path has its own considerations.
Installing on New Construction
- Clean slate
- No old layers or surprises. We control substrate quality from day one.
- Integrated design
- Plan for venting, snow guards, and solar attachments before panels go on.
- No tear-off costs
- Lower disruption and simpler logistics on the jobsite.
- Fewer surprises
- No hidden rot or mismatched planes to correct.
- Optimal substrate prep
- Use the right sheathing thickness, ventilation strategy, and underlayment package for our Utah climate.
For more on planning new builds, see All About New Construction Roofing.
Retrofitting an Existing Home
- Tear-off vs. overlay
- We’ll help you decide between a full replacement or an overlay where local codes allow and the deck is sound. A full tear-off often reveals issues we can fix before they become leaks. Start with Roof Replacement 101 – Is Your Home Ready for an Upgrade?.
- Structural assessment
- Check for sagging rafters, soft decking, or previous leak damage.
- Hidden damage
- Address rot, poorly flashed chimneys, or clogged/failed ventilation systems before panel install.
- Existing rooflines
- Metal panels will highlight waviness or deck defects. We correct plane issues for straight, tight panels.
Common Mistakes and Long-Term Maintenance
A metal roof can outperform most alternatives, but only if it’s installed right and maintained smartly.
Installation Pitfalls to Avoid
- Misaligned first panel
- The #1 “cascade” error. Start square, check often.
- Improper fasteners
- Overdriven or underdriven screws, or screws in the ribs, can leak. Use corrosion-resistant screws and drive them straight.
- Inadequate overlaps and sealing
- Follow the panel specs: overlap at least one rib (exposed fastener) and use butyl tape at laps, eaves, ridges, and trim.
- Incorrect flashing
- Rushed valley, sidewall, or chimney flashing is the most common leak source. Take time to kerf masonry and tuck behind siding as needed.
- Skipping underlayment or ice barrier
- Especially risky in Utah snow zones.
- Using incompatible materials
- Avoid direct contact with certain treated woods and dissimilar metals that can cause galvanic corrosion.
- Cutting with abrasive blades
- Heat damages protective coatings. Use snips or shears.
- DIY without a plan
- If you’re tempted to try it solo, read this first: What You Need to Know About DIY Roof Repairs.
Essential Metal Roof Maintenance
- Semiannual inspections
- Spring and fall, plus after major wind or hail events along the Wasatch Front.
- Clean gutters and valleys
- Remove leaves, pine needles, and debris that hold moisture and ice.
- Check fasteners and sealants
- Tighten or replace loose fasteners; refresh sealant where needed.
- Address cosmetic wear
- Touch up minor scratches with manufacturer-approved paint; keep surfaces clean to maintain reflectivity.
- Manage snow and ice
- Consider snow guards in heavy snow areas (Park City, Logan). Use a roof rake from the ground; never chip ice on the roof.
- Schedule professional inspections
- A trained eye catches issues early. See The Benefits of Regular Roof Inspections and our broader guide: Roof Maintenance 101: Tips from Your Local Roofing Company.
Frequently Asked Questions about Metal Roofs
How does the cost of a metal roof compare to shingles over its lifespan?
- Initial cost
- Metal typically costs more upfront than asphalt shingles.
- Long-term value
- With a lifespan of 40-70 years vs. 15-30 for asphalt, metal typically costs less over time due to fewer replacements and lower maintenance. Many industry sources note that “long-term metal roofing costs less than shingles.”
- Energy and insurance
- Reflective finishes lower cooling demand; non-combustible materials can help with insurance in some cases.
- Budgeting smart
- We’re happy to suggest options that balance aesthetics and performance. Start here: Affordable Roofing Without Compromising Quality.
Are metal roofs noisy when it rains?
No. With proper decking, underlayment, and attic insulation, a metal roof is typically no louder than shingles. Underlayment and vented attic space act as sound buffers. The “loud rain” myth mostly comes from open-framed barns—not modern Utah homes with sheathing and insulation.
Why is professional help recommended for a residential metal roof installation?
- Complexity and precision
- Panels must be square, laps sealed, penetrations flashed, and fasteners set correctly—consistently across the roof.
- Safety
- Working at heights with sharp materials and Utah winds is risky without training.
- Warranty and codes
- Manufacturer warranties and local building codes (slope, ventilation, ice barrier) demand correct installation. Local expertise matters; learn more in Why Hiring a Local Roofer is the Best Choice.
- Materials knowledge
- Choosing the right profile, gauge, and coating for your neighborhood and elevation is key. Explore system options at industry resources like metal roofing to understand the variety of profiles we install.
Conclusion
A well-executed residential metal roof installation delivers the trifecta Utah homeowners want: exceptional durability, energy savings, and curb appeal that lasts. Metal roofs commonly serve 40-70 years, outlasting asphalt by decades, reflecting the sun to keep homes cooler, and standing strong against fire, wind, and hail. But performance depends on the details—quality underlayment, crisp flashing, correct fasteners, and careful ridge, drip edge, and trim work.
We’re Heaton Bros. Roofing, a 4th-generation, family-owned team serving Salt Lake City and communities across the Wasatch Front—from Bountiful to Draper, Park City to Provo, Ogden to Saratoga Springs. With 65+ years of local experience, we tailor every system to Utah’s climate and your home’s design. For a flawless, lasting installation, trust the experts with your residential roofing project. We’ll take your roof from sheathing to shine—beautifully, safely, and built to last.
References and further learning:
- Installation best practices and training: MCA’s Metal Roof Installation Manual
- Pro tips, including moisture barrier guidance: Metal Roof Installation Tips
- System options overview: metal roofing